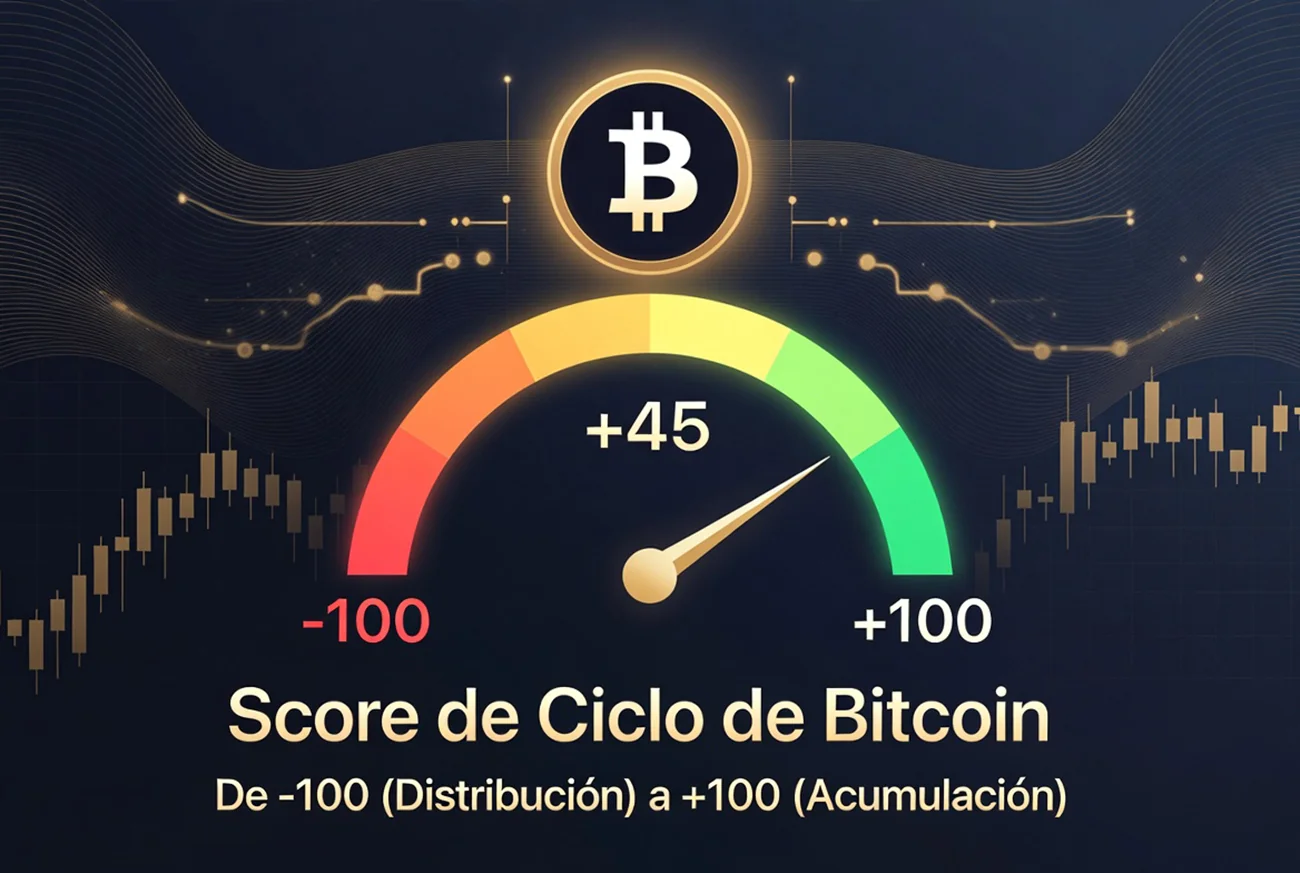
The Bitcoin Cycle Score Built on a Verifiable Node, Not Borrowed APIs
The Score compresses the Bitcoin cycle into a single number from -100 to +100: accumulation or distribution. Unlike dashboards that resell the same handful of third-party data feeds, our highest-weighted input is computed directly against our own Bitcoin node. Here's what goes into it, how it combines, what we withhold, and how to check the track record yourself.
If you've spent time with Glassnode, CryptoQuant, or Nodecharts, you already know the shape of a cycle score: a single value derived from on-chain and market data meant to summarize where Bitcoin sits relative to its own history. The NodeWitness Cycle Score works the same way in spirit — a number between -100 (distribution) and +100 (accumulation), built from about a dozen public and proprietary indicators — but with one structural difference worth dwelling on: the component we weight most heavily isn't licensed from a data vendor, it's computed directly against our own Bitcoin full node. This article breaks down what goes into the Score, how the pieces combine, what we withhold and why, and — more useful than either of those — how to check whether any of it actually holds up against history.
Why a Node-Verified Score, Not Another Vendor Feed
Most on-chain platforms, including the well-known ones, ultimately draw from a small, overlapping set of chain-indexing infrastructure and licensing arrangements — subscribe to two of them and you're often paying twice for coverage sourced from similar plumbing, with no way to check that plumbing yourself. We run a full Bitcoin node ourselves — our own hardware, no pruning, not a rented API key — and compute our core holder-distribution and hash-rate signals directly against it. There's no vendor in that data path who could change a methodology, restate a history, or rate-limit us without our knowledge — and none of it is a black box you have to trust, because the same node data is what the backtest further down this page is built on.
The Three Families of Data Behind the Score
The Score doesn't draw from a single source — it combines three very different families of indicators:
1. Data from our own Bitcoin node. The component we weight most heavily, for the reason above: it's chain data we verify ourselves, not a proxy. It includes supply distribution by age (HODL waves) and by wallet size, plus a hashrate "hash ribbon" calculated straight from the chain. Producing this requires running a full node — no free API offers it.
2. On-chain market metrics. MVRV (market value to realized value), net exchange flow, the trend of BTC held on exchanges, and the Puell Multiple (mining profitability). All calculated from public data via the Coin Metrics Community API, no paid key required.
3. Sentiment and macro context. The Fear & Greed Index, Bitcoin dominance, perpetual futures funding rate, price action (drawdown from the two-year high and position relative to the 200-period average), and global liquidity (the Federal Reserve's weekly balance sheet).
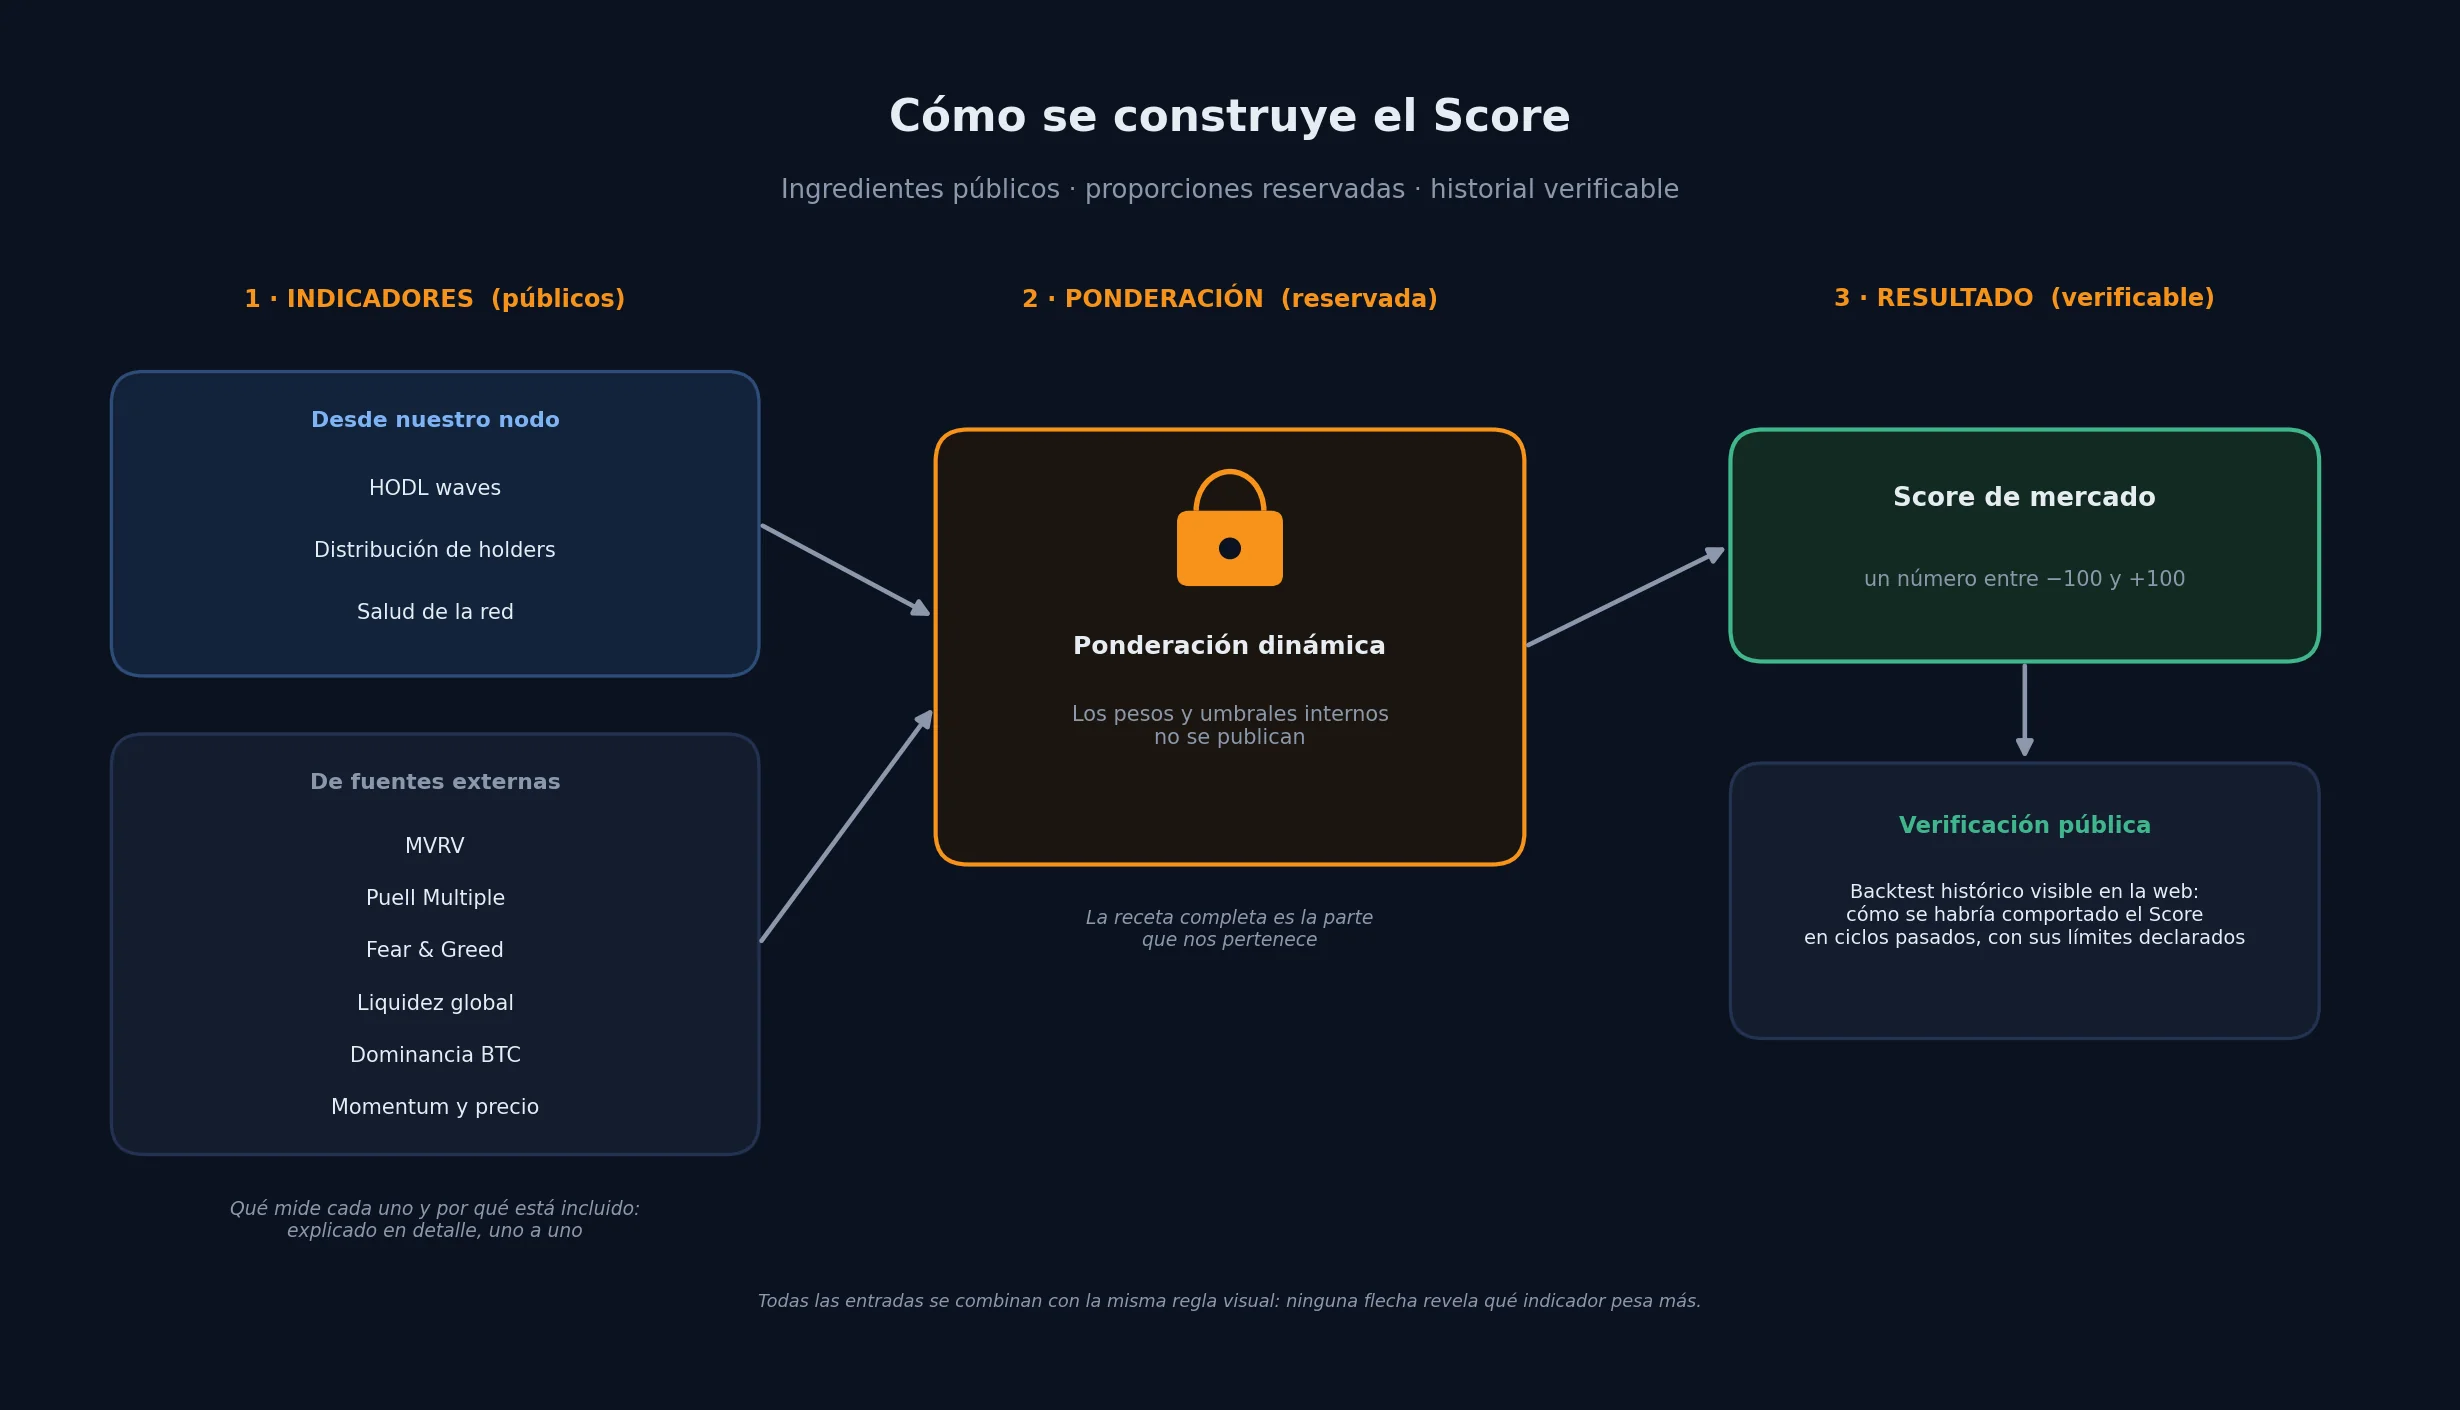
Reference table of the 10 indicators, grouped by family (order reflects grouping only, not weight or importance):
| Indicator | What it measures | Source | Update frequency |
|---|---|---|---|
| Holder distribution + hash ribbon (own node) | Age and size of the wallets holding BTC, and mining health calculated directly from the chain | Our own Bitcoin node (full Bitcoin Core, no pruning, via RPC) | Holder distribution: weekly snapshot · hashrate: every difficulty adjustment (~2 weeks) |
| MVRV | Ratio between market value and "realized" value (the price at which each coin last moved) | Coin Metrics Community API | Daily |
| Net exchange flow | Difference between BTC entering and leaving known exchanges | Coin Metrics Community API | Daily |
| Exchange balance trend | Change in BTC held on exchanges over a 90-day window | Coin Metrics Community API | Daily |
| Puell Multiple | Mining profitability: daily issuance in USD vs. its 365-day average | Calculated by us (issuance + price) | Daily |
| Fear & Greed Index | Market sentiment, from extreme fear to extreme greed | alternative.me | Daily |
| BTC dominance | Bitcoin's share of total crypto market cap | CoinGecko (our own history since Jun 2026) | Daily |
| Funding rate | Cost of holding leveraged positions in BTCUSDT perpetual futures | Binance Futures | Daily |
| Price action | Drawdown from the 2-year high and price position relative to its 200-period average | Calculated by us (from price) | Daily |
| Global liquidity | The Federal Reserve's weekly balance sheet, as a macro liquidity proxy | Fed's H.4.1 release | Weekly |
Normalizing Signals Onto One Scale
Each indicator arrives in its own unit — MVRV is a ratio, Fear & Greed is a 0-100 index, funding rate is a percentage, global liquidity is a dollar figure. You can't average those directly. Before combining anything, each indicator is normalized onto a common -100 (distribution) to +100 (accumulation) scale, using calibrated, documented thresholds. A textbook example, not one of our own thresholds: an MVRV below 1 (market price below the network's aggregate cost basis) has historically coincided with undervalued zones, so it pushes the Score toward accumulation; Fear & Greed sitting in extreme fear does the same from a completely different angle — sentiment, not valuation. Once normalized onto the same scale, signals that different become comparable and summable.
From Normalized Signals to a Single Number
Normalized indicators are combined into a weighted average: each contributes according to its weight, and the result is the final Score. Two details worth spelling out:
- Missing data is never backfilled with a neutral value. If an indicator has no reading on a given day (for example, after a brief node restart), it's excluded and the rest is re-weighted over what's actually available. We never assume "neutral" for a data point we simply don't have.
- Confidence always travels with the number. Alongside the Score we show a confidence level (0-100%) reflecting how much real data coverage backs today's reading — not a statistical probability, just how many pieces are actually available. A low-confidence Score should be read with extra caution, and the site says so explicitly.
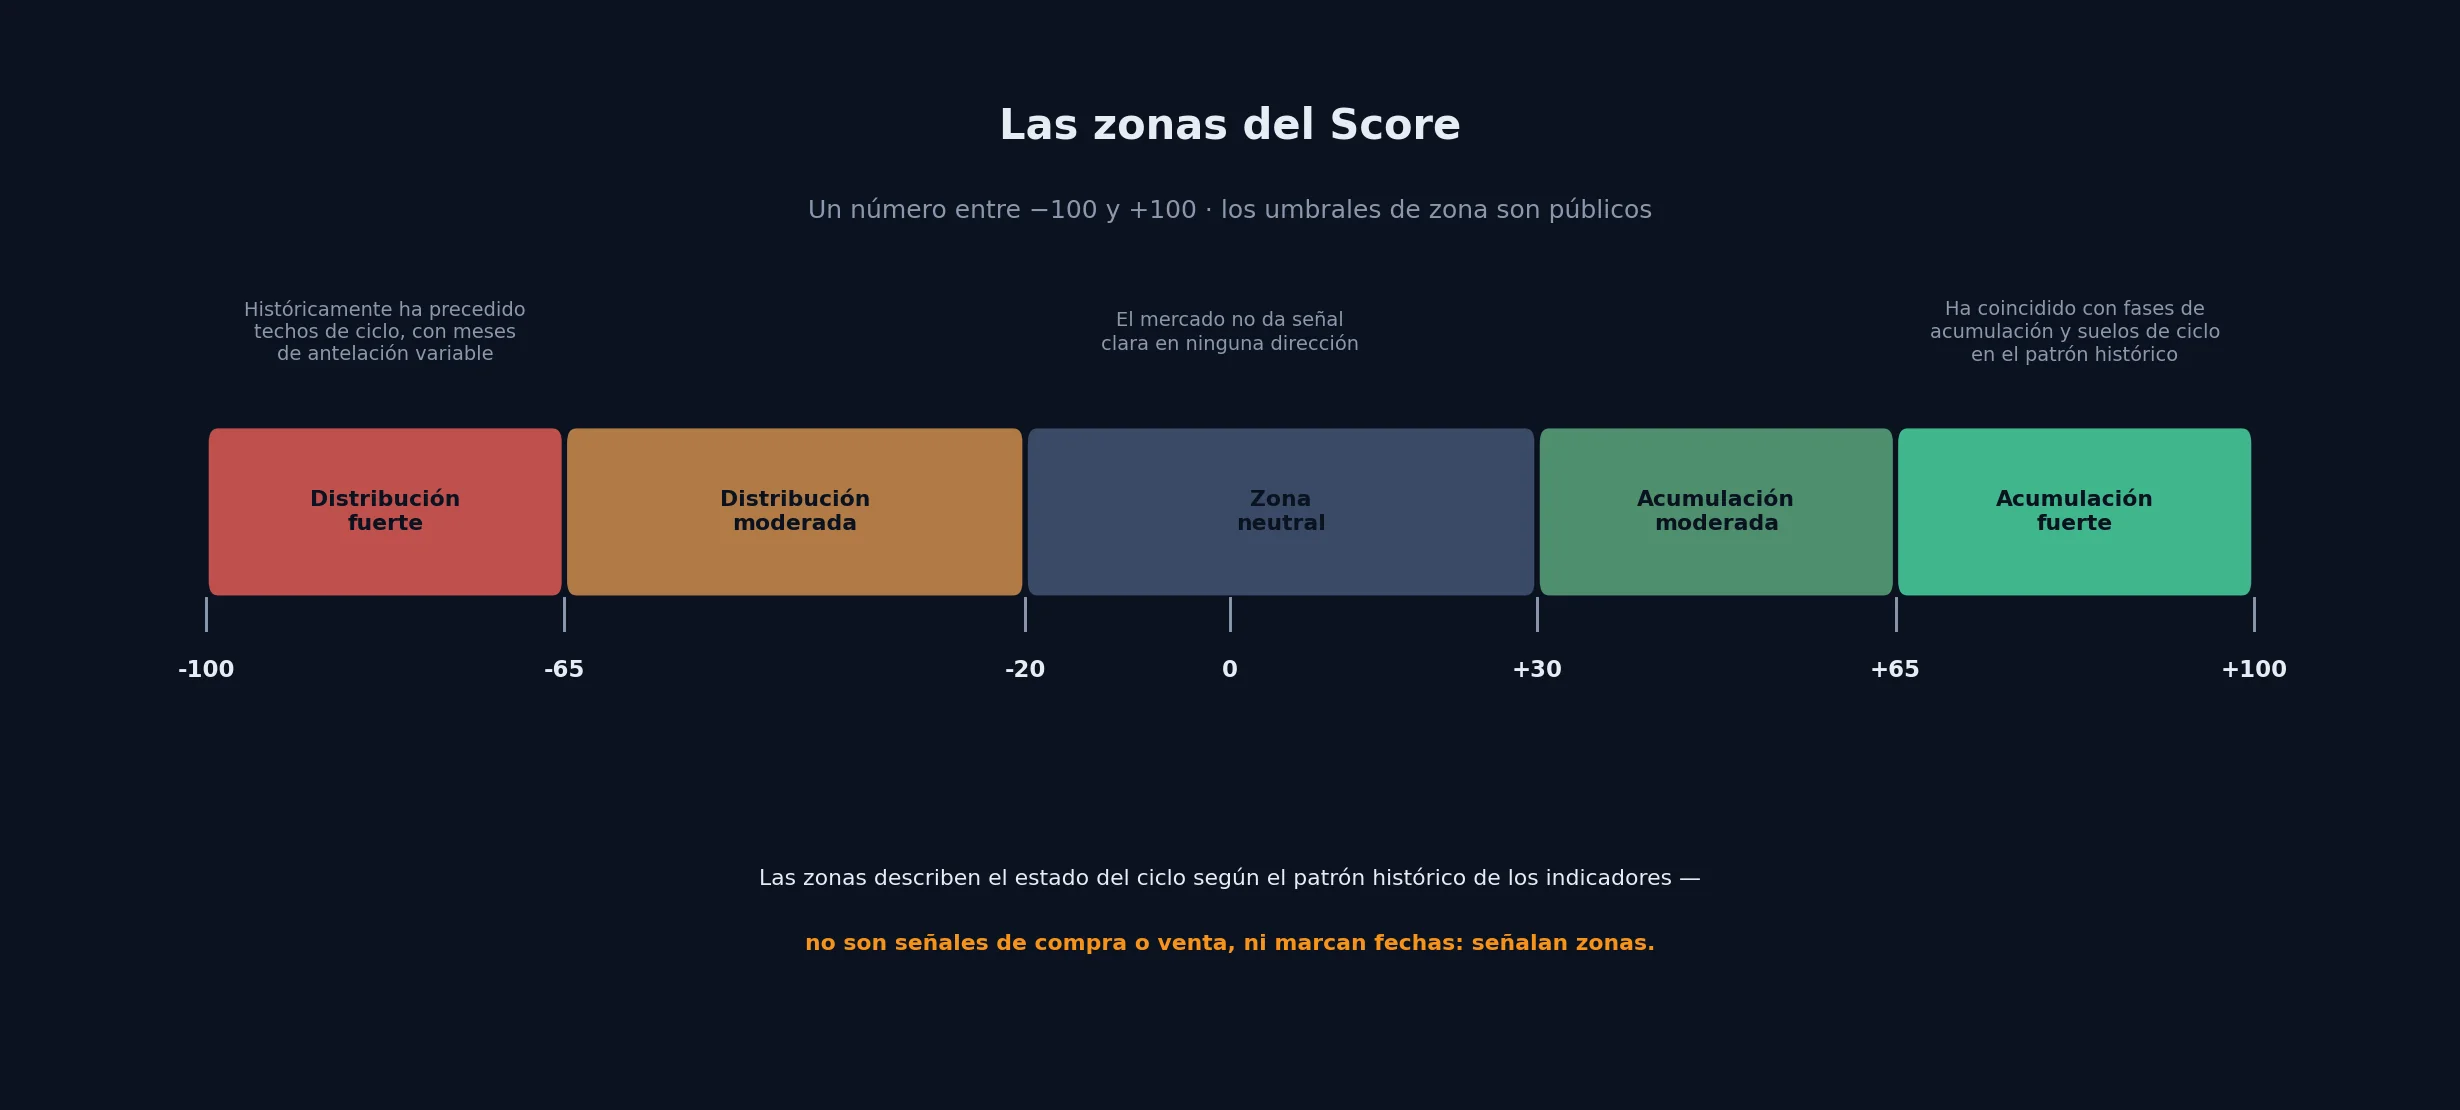
The Five Classification Zones
The final number lands in one of five zones, from strong distribution to strong accumulation. These zone boundaries are public — what's withheld is each indicator's internal weight, not the lines between phases:
What We Withhold, and Why
We publish what each indicator measures, where the data comes from, and which direction it's currently pushing the Score (up, down, or neutral). What we always withhold is the exact weight of each indicator and the internal combination logic.
It's not distrust of the reader. It's a simple call, and the closest analogy is a recipe: you know every ingredient and where it's sourced, just not the exact proportions. Publish the full formula and anyone could reconstruct the Score without our data — and this project's real value sits in verifying that data against our own node, not in a formula someone could copy into a spreadsheet.
Here's the part that matters: the legitimacy of that reserve doesn't rest on trusting our word, it rests on you being able to check the record. That's why the next section is the track record, not an appeal to trust.
How to Check It Actually Works: the Backtest
In the Market section we publish the Score's backtest since 2018 — its historical series overlaid on Bitcoin's price, so anyone can check what it read at any point in the cycle. Two well-known cases illustrate it: at the November 2021 top, the Score sat in the distribution zone; at the November 2022 bottom, right after the FTX collapse, it sat in the accumulation zone. No need to take our word for it — it's plotted and checkable.
We're also upfront about what that backtest can't prove. It runs on 7 of the 10 indicators live: the three without continuous history are excluded (own node, dominance, global liquidity). Since those three carry a meaningful share of the total weight, the backtest's average confidence lands around 59%, versus roughly 95% for the live Score. That gap isn't a flaw — it's the honest signal that the backtest works with fewer pieces than today's Score. And with only a couple of complete Bitcoin cycles on record, no backtest — ours included — should be read as statistically conclusive. It's a credible, checkable illustration, not a guarantee. We also publish where the Score has gotten it wrong, not just the wins — see Where the Score Has Failed.
The same discipline applies internally. Any change we evaluate — a new indicator, an adjusted threshold, a different combination logic — goes through an internal validation protocol before adoption: calibrated on one stretch of history, validated on a separate one, never the same stretch, and only shipped if it improves results robustly, not if it looks good on a chart. We keep a public log of what got tested and what got discarded — see the Score version history. The detail of each test is internal, part of the withheld formula, but its existence isn't: it's what keeps the Score from being tuned with hindsight, the single easiest mistake to make with this kind of indicator.
What the Score Does Not Measure
An honest indicator states its boundaries instead of hiding them:
- It's Bitcoin-only. No visibility into capital rotation toward altcoins or signals from other markets. That's a design choice (Bitcoin has the most solid, verifiable on-chain data available), not an oversight — but it means there are market dynamics the Score, by construction, doesn't see.
- A dormant balance is not a convinced holder. Our node sees addresses and balances; it does not see who stands behind them. Since spot ETFs arrived, a growing share of supply sits in custody addresses that rarely move — to the node those look like whales accumulating and coins ageing without being spent, while the actual owners are thousands of shareholders who can sell in the market tomorrow without a single satoshi moving on-chain. Exchange reserves and corporate treasuries distort the reading the same way. In our own snapshot, fewer than a hundred addresses hold close to 15% of supply; the live figure is on Supply & Holders. We don't adjust for it, and that is deliberate: doing so means buying and trusting a third party's address labels, which is the exact dependency this project exists to avoid. So we state it plainly instead, and it is one more reason that indicator never decides alone.
- It's not a timing tool. It locates the cycle phase, not the exact day of a top or bottom. It can sit in a zone for weeks or months before price catches up.
- It's not financial advice. It's an informational heuristic. The Score sitting in the accumulation zone isn't a buy signal, nor is distribution a sell signal — that call is yours, based on your own strategy and risk tolerance.
How It Shows Up in the Product
On the site, the Score always ships with three pieces of context that keep it from reading like an oracle:
- The confidence level described above, to gauge how much data coverage backs today's number.
- The top three reasons currently moving the Score most, with direction (up/down) and qualitative strength (strong/mild) — never an exact magnitude, per the reserve rule above.
- A Score DCA simulator that lets you compare, on real historical data, plain periodic buying against buying modulated by the Score's signals (see what DCA and Score DCA are).
None of this replaces your own judgment. The Score is a tool for reading the Bitcoin cycle with verifiable data and its limits in plain view — not a buy or sell signal. See it live, with full context, in the Market section.
Last updated: August 4, 2026